해당 글에서는 react-native에서 Modal 팝업을 띄우는 방법과 오버레이가 된 상태에서 백그라운드에 색을 적용하는 방법에 대해 알아봅니다.
1) React Native Modal
💡 React Native Modal
- React Native 애플리케이션에서 모달 창을 구현하기 위해 사용되는 컴포넌트입니다.
- 모달은 사용자에게 추가 정보나 작업을 요청하거나 알림을 표시하기 위해 사용됩니다. 모달은 화면에 오버레이 형태로 나타나며, 일시적으로 주요 콘텐츠를 가리고 사용자의 입력에 집중할 수 있도록 도와줍니다.
Modal · React Native
The Modal component is a basic way to present content above an enclosing view.
reactnative.dev
1. modal 속성
💡 해당 속성은 공통(Android/iOS)에서 사용할 수 있는 속성입니다.
| 속성 | Type | 설명 |
| visible | boolean | - 모달의 가시성 여부를 설정합니다. |
| animationType | string: ‘slide’ | ‘fade’ | ‘none’ | - 모달의 열리고 닫힐 때 적용되는 애니메이션 유형을 설정합니다. |
| transparent | boolean | 모달이 투명하게 표시되는지 여부를 설정합니다. - true로 지정하는 경우 오버레이 뒷 배경이 투명한 배경으로 제공이 됩니다. |
| onRequestClose | function | - 모달이 닫힐 때 호출되는 콜백 함수를 설정합니다. - 뒤로가기 버튼을 눌렀을 경우에도 호출이 됩니다. |
| onShow | function | - 모달이 나타났을 때 호출되는 콜백 함수를 설정합니다. |
| onDismiss | function | - 모달이 닫혔을 때 호출되는 콜백 함수를 설정합니다. |
💡 추가적인 속성에 대해 궁금하시면 아래의 공식사이트 링크를 참고하시면 도움이 됩니다.
Modal · React Native
The Modal component is a basic way to present content above an enclosing view.
reactnative.dev
2) React Native Modal 예시
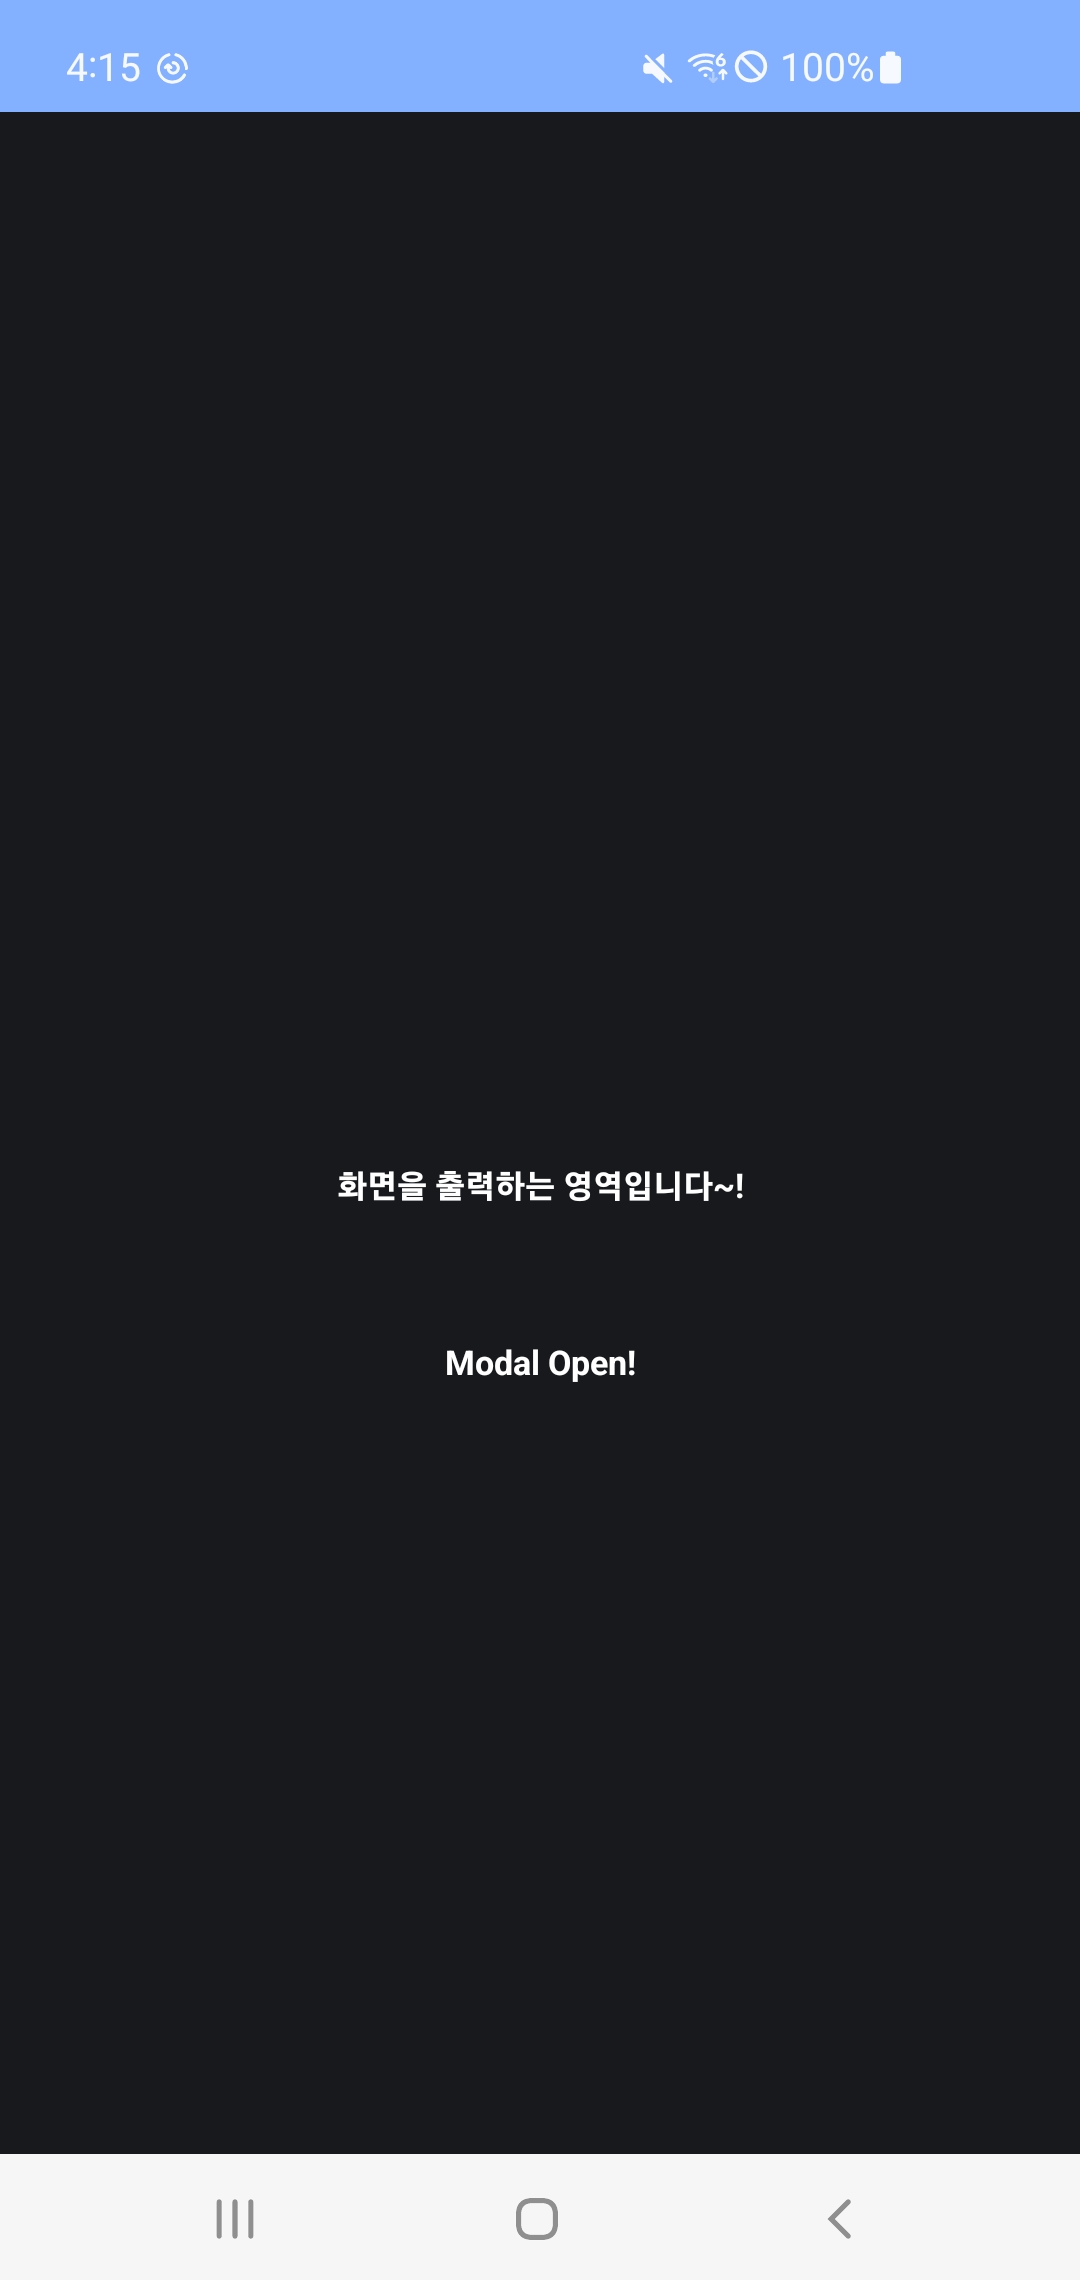
💡 해당 사용 예시에서는 일반 화면에서 버튼을 눌렀을 경우 Modal이 출력되는 형태로 구성을 하였습니다.


import React, { useEffect, useState } from "react";
import { Modal, Pressable, StyleSheet, Text, View } from "react-native";

const TestScreen = () => {

    const [isModalVisible, setIsModalVisible] = useState<boolean>(false);

    useEffect(() => {

    }, []);

    const onPressModalOpen = () => {
        console.log("팝업을 여는 중입니다.")
        setIsModalVisible(true);
    }

    const onPressModalClose = () => {
        setIsModalVisible(false);
    }

    return (
        <View style={styles.container}>
            <View style={styles.viewContainer}>
                <Text style={styles.textStyle}>화면을 출력하는 영역입니다~!</Text>
                <Pressable onPress={onPressModalOpen}>
                    <Text style={styles.textStyle}>Modal Open!</Text>
                </Pressable>
            </View>

            <View style={{ marginTop: 400 }}>
                <Modal
                    animationType="slide"
                    visible={isModalVisible}
                    transparent={true}
                >
                    <View style={styles.modalView}>
                        <View>
                            <Text style={styles.modalTextStyle}>Modal이 출력되는 영역입니다.</Text>
                        </View>
                        <Pressable
                            onPress={onPressModalClose}>
                            <Text>Modal Close!</Text>
                        </Pressable>
                    </View>
                </Modal>
            </View>
        </View>

    )

}
export default TestScreen;

const styles = StyleSheet.create({

    container: {
        width: '100%',
        height: '100%',
        backgroundColor: "#17191c"
    },

    /**
     * 일반 화면 영역
     */
    textStyle: {
        color: 'white',
        fontWeight: 'bold',
        textAlign: 'center',
        marginBottom: 50
    },
    viewContainer: {
        justifyContent: 'center',
        alignItems: 'center',
        marginTop: 400,
    },

    /**
     * 모달 화면 영역
     */
    modalView: {
        marginTop: 230,
        margin: 30,
        backgroundColor: 'white',
        borderRadius: 20,
        padding: 35,
        alignItems: 'center',
        shadowColor: '#000',
        shadowOffset: {
            width: 0,
            height: 2,
        },
        shadowOpacity: 0.25,
        shadowRadius: 4,
        elevation: 5,
    },
    modalTextStyle: {
        color: '#17191c',
        fontWeight: 'bold',
        textAlign: 'center',
        marginBottom: 50
    },
});
3) React Native Modal 예시 : 오버레이시 백그라운드 불투명 적용
💡 위와 같이 구현을 하였을 경우 Modal은 일반적으로 투명한 백그라운드로 제공이 됩니다. 그렇기에 모달 팝업에 주목을 할 수 없기에 불투명한 형태로 백그라운드를 변경합니다.
💡 이에 따라 불투명한 상태의 백그라운드를 지정하고 싶은 경우에 대해서 Modal 태그안에 <View></View> 태그에 아래의 CSS를 적용하면 backgroundColor: "rgba(0, 0, 0, 0.8)"로 불투명 상태로 확인이 가능합니다
centeredView: {
    flex: 1,
    alignContent: "center",
    textAlignVertical: 'center',
    backgroundColor: "rgba(0, 0, 0, 0.8)",
},


💡 아래와 같이 이렇게 불 투명도를 주어서 뒤에 배경이 흐릿한 효과를 주도록 구성하였습니다.
import React, { useEffect, useState } from "react";
import { Modal, Pressable, StyleSheet, Text, View } from "react-native";

const TestScreen = () => {

    const [isModalVisible, setIsModalVisible] = useState<boolean>(false);

    useEffect(() => {

    }, []);

    const onPressModalOpen = () => {
        console.log("팝업을 여는 중입니다.")
        setIsModalVisible(true);
    }

    const onPressModalClose = () => {
        setIsModalVisible(false);
    }

    return (
        <View style={styles.container}>
            <View style={styles.viewContainer}>
                <Text style={styles.textStyle}>화면을 출력하는 영역입니다~!</Text>
                <Pressable onPress={onPressModalOpen}>
                    <Text style={styles.textStyle}>Modal Open!</Text>
                </Pressable>
            </View>

            <View style={{ marginTop: 400 }}>
                <Modal
                    animationType="slide"
                    visible={isModalVisible}
                    transparent={true}
                >
                    <View style={styles.centeredView}>
                        <View style={styles.modalView}>
                            <View>
                                <Text style={styles.modalTextStyle}>Modal이 출력되는 영역입니다.</Text>
                            </View>
                            <Pressable
                                onPress={onPressModalClose}>
                                <Text>Modal Close!</Text>
                            </Pressable>
                        </View>
                    </View>
                </Modal>
            </View>
        </View>

    )

}
export default TestScreen;

const styles = StyleSheet.create({

    container: {
        width: '100%',
        height: '100%',
        backgroundColor: "#17191c"
    },

    /**
     * 일반 화면 영역
     */
    textStyle: {
        color: 'white',
        fontWeight: 'bold',
        textAlign: 'center',
        marginBottom: 50
    },
    viewContainer: {
        justifyContent: 'center',
        alignItems: 'center',
        marginTop: 400,
    },

    /**
     * 모달 화면 영역
     */
    modalView: {
        marginTop: 230,
        margin: 30,
        backgroundColor: 'white',
        borderRadius: 20,
        padding: 35,
        alignItems: 'center',
        shadowColor: '#000',
        shadowOffset: {
            width: 0,
            height: 2,
        },
        shadowOpacity: 0.25,
        shadowRadius: 4,
        elevation: 5,
    },
    modalTextStyle: {
        color: '#17191c',
        fontWeight: 'bold',
        textAlign: 'center',
        marginBottom: 50
    },

    centeredView: {
        flex: 1,
        alignContent: "center",
        textAlignVertical: 'center',
        backgroundColor: "rgba(0, 0, 0, 0.8)",
    },
});
오늘도 감사합니다. 😀
'React & React Native > 라이브러리 활용' 카테고리의 다른 글
| [RN] ONNX(Open Neural Network Exchange) 이해하기 -3 : ONNX 모델 정리 (0) | 2023.11.08 |
|---|---|
| [RN] react-native StatusBar 이해하고 활용하기 (0) | 2023.11.06 |
| [RN] react-native gif 파일 불러오기 : Android (0) | 2023.10.31 |
| [RN] react-native 앱 화면 꺼짐 방지 : expo-keep-awake (0) | 2023.10.23 |
| [RN] react-native 안드로이드 뒤로가기 버튼 방지 : BackHandler (2) | 2023.10.16 |

